How to Prepare Bath Broom for Use - A Comprehensive Guide
Share
Bath brooms, sometimes referred to as sauna or banya brooms, are an integral part of the bathing rituals in many cultures. They add an element of tradition, relaxation, and aroma to bathhouses, spas, and private saunas. Whether you have a fondness for a classic oak broom or prefer the gentle scent of eucalyptus, you can create an immersive experience by incorporating a properly prepared bath broom into your routine. In this article, we will explore how to prepare bath broom for use, discuss various broom types, share historical context, and offer practical storage and maintenance tips.
Understanding the Value of Bath Brooms
Before diving into the preparation process, it is helpful to understand why bath brooms matter in the first place. In many Eastern European traditions, particularly in Russian and Ukrainian banyas, these brooms are regarded as more than just decorative items. They often include branches or leaves (commonly oak, birch, eucalyptus, juniper, or a blend of different herbs), which release aromatic oils when lightly heated in steam.
Benefits of Using Bathrooms
1. Aromatherapy: Bath brooms help release fragrances that can contribute to an invigorating, calming, or clarifying ambiance in the steam room.
2. Gentle Exfoliation: The soft leaves gently buff the skin, leaving it feeling refreshed and renewed.
3. Improved Circulation: Light tapping or brushing along the skin’s surface can encourage blood flow, supporting overall physical relaxation.
Selecting the Right Bath Broom
To find the broom that suits you best, start by considering the qualities you would like to experience during your bath or sauna:
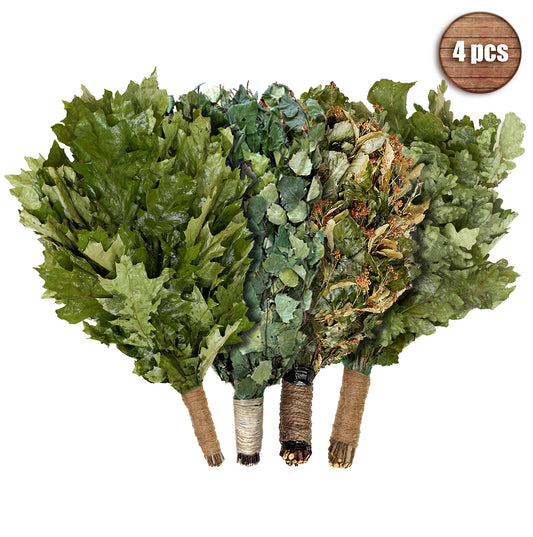
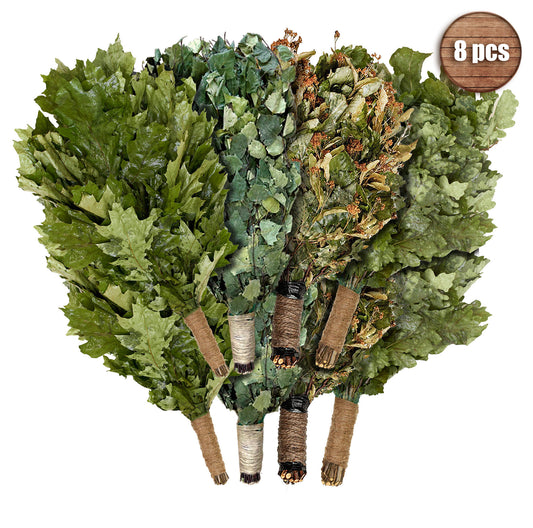
1. Oak: Oak brooms are known for sturdier leaves and branches. They provide a slightly more intense exfoliation and produce an earthy aroma many bath enthusiasts appreciate.
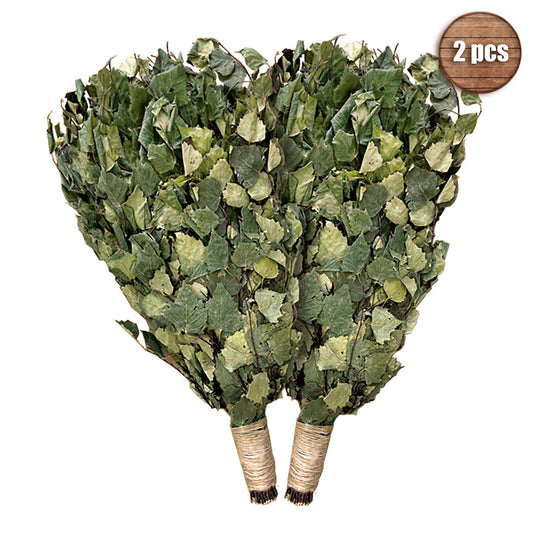
2. Birch: Birch leaves are gentle on the skin, making them a popular choice for beginners. They release a mild, subtly sweet fragrance in steam.
3. Eucalyptus: Known for its crisp, invigorating aroma, eucalyptus brooms can help open airways and create a revitalizing atmosphere.
4. Juniper: Often combined with other leaves, juniper can add a sharp, evergreen scent that pairs well with herbs like eucalyptus or mint.
5. Mixed Brooms: Some bath brooms are intentionally blended for a layered sensory experience. A popular combination might include oak and eucalyptus or birch and lime leaves.
Step-by-Step: How to Prepare Bath Broom for Use
1. Once you have chosen your preferred type of bath broom, it is time to prepare it for the bath or sauna. The following steps will help ensure that the leaves and branches remain flexible, fragrant, and comfortable to use.
2. Inspect the Broom: Check for any loose or broken twigs. If you see that some branches are about to fall off or are too brittle, remove them gently. This small step prevents stray leaves from making a mess in the bath and helps the broom last longer.
3. Initial Rinse (Dry Brooms): If you purchased a completely dry broom (one that is stored for extended periods or shipped from a different region), give it a brief rinse under lukewarm water. This helps wash away surface dust or debris.
4. Soaking Process: Fill a bucket or basin with warm water. Carefully submerge the broom’s leafy end for a few minutes. This step softens the leaves and branches. If you have a birch broom, avoid using water that is extremely hot because it can strip some of the natural oils from the leaves.
5. Gradual Temperature Increase: After the initial soak, place the broom into a slightly hotter bath of water or hold it near the sauna’s steam. The idea is to gently raise its temperature and encourage the release of aromatic oils without overexposing the leaves to sudden heat.
6. Steam Infusion: If you are in a sauna or steam room, wave or lightly shake the broom in the steam to let the moisture permeate the leaves. This also helps release aromatic compounds.
7. Light Compression: Once the broom is warmed and damp, consider gently pressing the leaves together to ensure they are uniformly moistened. However, avoid rough twisting or wringing motions.
8. Check for Readiness: If the leaves have turned softer and produce a pleasant scent, your bath broom is ready for use. If needed, repeat a short soak for a few more minutes until the broom feels pliable and comfortable.
Recommended Preparatory Methods
Below is a brief list of common methods you can choose from when preparing your bath broom. Each approach is tailored to maximize the broom’s aroma and flexibility:
1. Hot Water Soak: Quickly submerge the broom in a basin of hot water, then hold it above the steam to allow the heat and moisture to penetrate.
2. Steaming Over Stones: In a sauna, place the broom near the hot stones for a minute. The rising steam helps the leaves soften naturally.
3. Layered Soaking: Soak the broom first in cool water, then in warmer water, gradually increasing the temperature. This method helps preserve the essential oils in delicate leaves.
Practical Usage Tips
When you are ready to use the broom, keep these tips in mind for a more comfortable and enjoyable experience:
1. Begin Gently: Start with soft, light strokes on the skin, gradually increasing pressure if you want more exfoliation.
2. Alternate Heat and Rest: If you are in a sauna, alternate between lightly ‘fanning’ the broom to circulate hot air and resting it against your skin for short intervals.
3. Observe Personal Comfort: Pay attention to body temperature, hydration, and overall comfort. Step out of the steam if you feel overly warm or require a break.
Storage and Maintenance
Proper care does not end once your bath session is finished. To prolong your bath broom’s lifetime, adopt these simple practices:
1. Rinse and Drain: Rinse the broom under lukewarm water to remove sweat or leftover residue from the sauna. Shake it gently to dispel excess water.
2. Air Dry: Hang the broom in a well-ventilated area, such as on a hook or a clothesline. This helps prevent mold and prolongs the broom’s usability.
3. Avoid Direct Sunlight: Keep the broom away from direct sunlight to help the leaves retain moisture and essential oils for a longer period.
4. Inspect Before Next Use: Even with careful storage, leaves may become brittle over time. Check your broom before the next session and remove any compromised or heavily shed branches.
Lists of Common Mistakes and How to Avoid Them
While preparing and storing bath brooms may seem straightforward, several frequent mistakes can reduce both the broom’s quality and your enjoyment:
-
Excessive Soaking: Over-soaking the broom weakens the leaves and can cause them to fall out rapidly.
-
Using Extremely Hot Water Right Away: Submerging the broom in boiling water can damage the leaves and diminish their natural oils.
-
Storing in Damp Environments: Leaving the broom in a humid or closed space can encourage mold and unpleasant odors.
- Neglecting to Inspect for Damage: Using a broom with cracked or brittle twigs can lead to an uncomfortable experience during use.
Summary and Final Thoughts
Learning how to prepare a bath broom for use can elevate your bath or sauna routine from ordinary to extraordinary. By choosing the right broom, carefully soaking and warming it, and storing it properly afterward, you encourage a more aromatic, exfoliating, and soothing bathing experience. Bath brooms, with their aromatic leaves and gentle scrubbing action, have stood the test of time in cultures that prioritize both relaxation and self-care.
Whether you are a seasoned sauna-goer or experimenting with a bath broom for the first time, there is always room to refine your approach. Take note of what works best for your preferences, and do not hesitate to mix and match leaves or experiment with different soaking methods to find your ideal preparation technique. With consistent care and attention, your bath broom can become a mainstay in your self-care routine, providing a revitalizing blend of tradition, fragrance, and relaxation each time you step into the warmth of your bath or sauna.